A useful campaign region gives you somewhere to start: a coastline to sail around, a mountain pass to defend, and towns connected by roads. RPG Map Editor’s World Generator creates that starting point from a seed. You can preview the geography, adjust it, and open the result as an editable map in the normal Editor.
Generation is an optional bonus tool. Manual tilemap editing remains the default, with the same tools, layers, assets, shortcuts and project workflow. The browser Editor retains its usual account and access requirements; see the current editions and pricing.
Open World Generator in the Editor. Already editing a map? Choose Map → Generate World….
No account yet? The free fantasy map generator runs the same generator in your browser, and its Edit in RPG Map Editor button hands your seed to the Editor. For a single settlement in street-level detail, use the fantasy city generator.
Generate a fantasy region from a seed
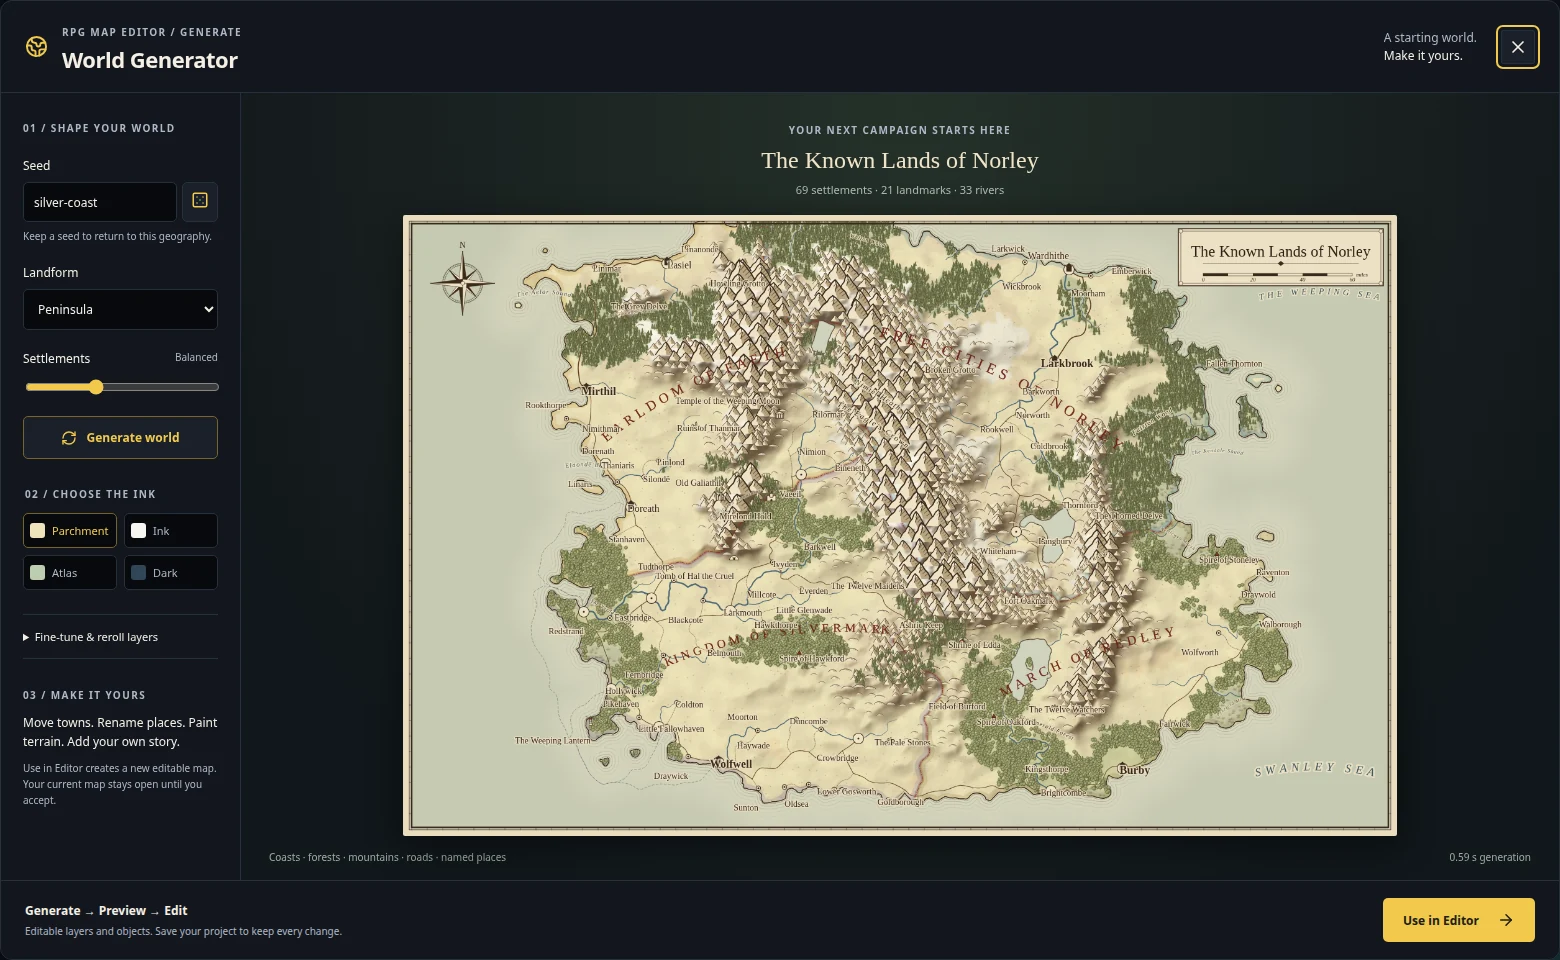
The preview builds a region with coastlines, rivers, lakes, forests, mountain ranges, settlements, landmarks, roads and names. Larger settlements have more prominent symbols and labels, so you can distinguish a capital from a small village before assigning anything to your campaign.
Start with seed silver-coast and the Peninsula landform. It produces the example shown above. Keep the seed when you find geography you like, and keep its settings alongside it: changing a landform or density can change the result even when the seed stays the same.
The generator uses repeatable procedural rules rather than a text-to-image prompt. Terrain shapes the drainage network. Settlement placement considers useful sites, and the road network responds to the underlying geography. These relationships give you a coherent draft to work with; your adventure still supplies its history, factions and reasons to travel.
Choose the landform for your campaign
Seven landforms provide different starting situations:
- Continent: room for overland journeys and larger territories.
- Island: a contained setting with a coastline around the action.
- Archipelago: separated islands that invite sea travel.
- Peninsula: a region with both an inland connection and a strong coastal edge.
- Inland sea: settlements and routes around an interior body of water.
- Twin isles: two major land areas for a divided campaign.
- Coastline: a coastal region that continues beyond the chart.
These are starting shapes, not promises about a campaign’s scale or travel time. Inspect the result before deciding which road takes a day and which mountain range ends an expedition.
Preview, adjust and reroll
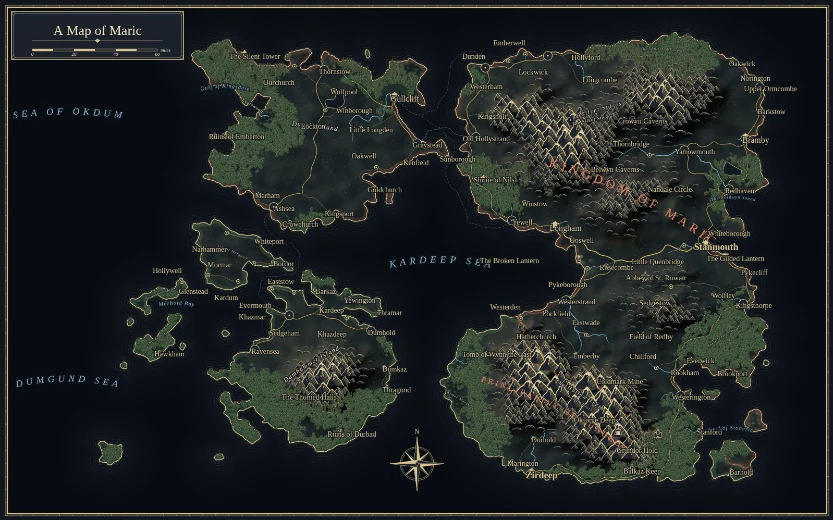
The map occupies most of the generator view. Seed, landform and settlement density sit beside it; four styles change the presentation: Parchment, Ink, Atlas and Dark. Style changes redraw the preview without choosing a new world.
Use Generate world after changing the seed or generation controls. The dice button chooses a new random seed. Neither action replaces the map already open in the Editor.
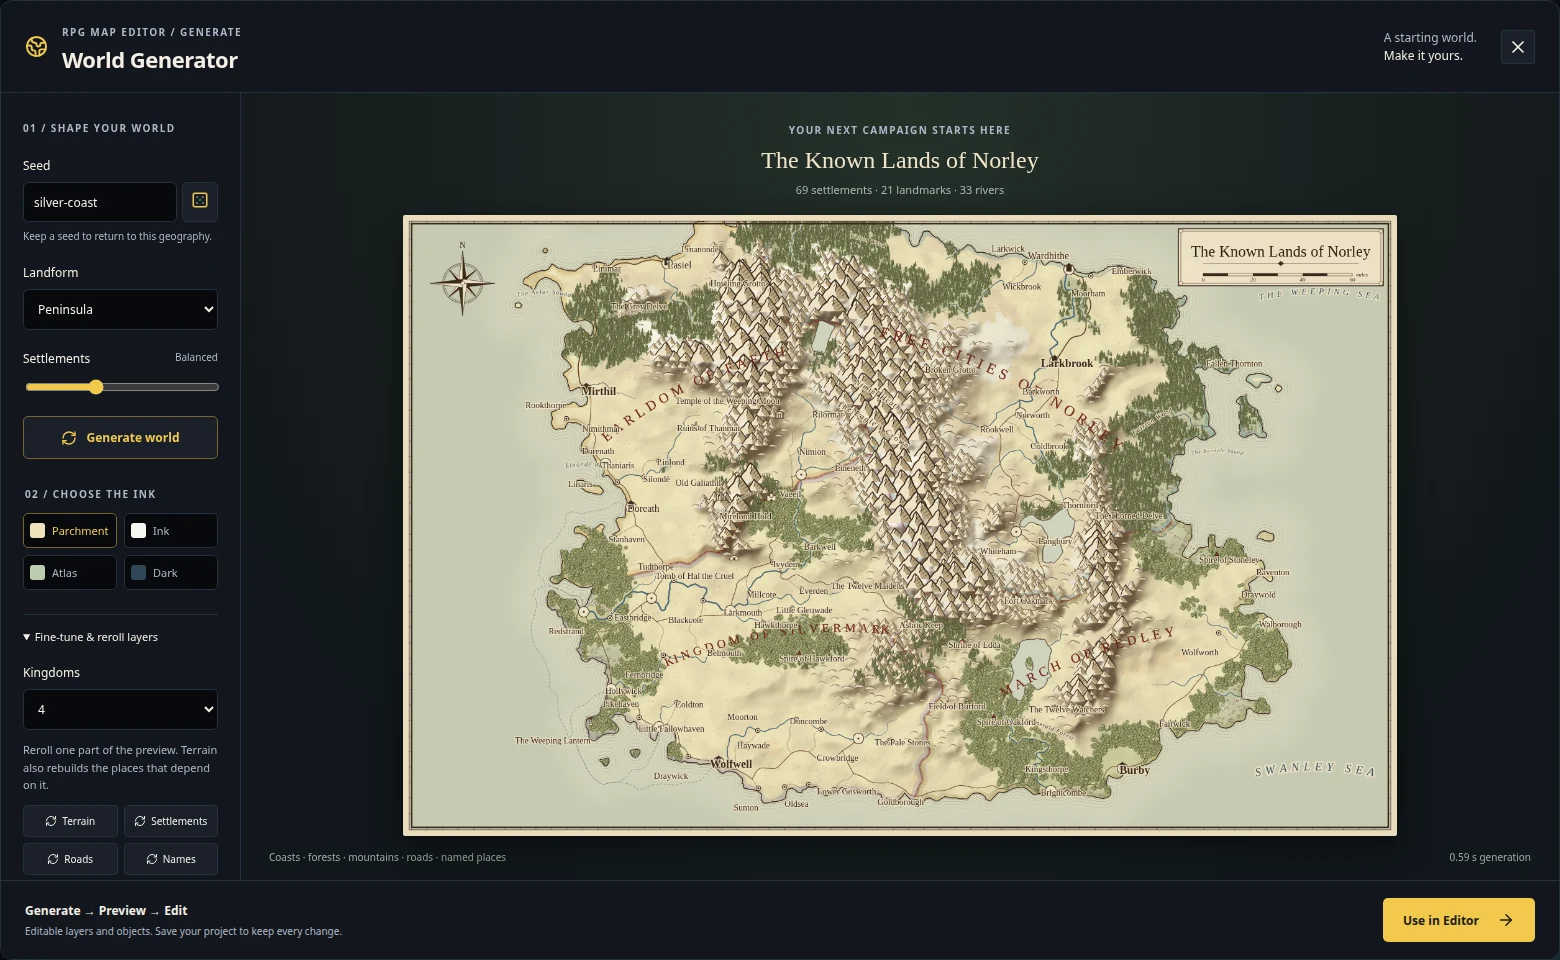
Open Fine-tune & reroll layers for kingdom count and targeted rerolls. You can reroll terrain, settlements, roads, names or landmarks. Rerolling names keeps the geography and roads in the preview; changing terrain also rebuilds the places that depend on it. This is useful when the coastline works but the names do not suit your setting.
Open the generated world as an editable tilemap
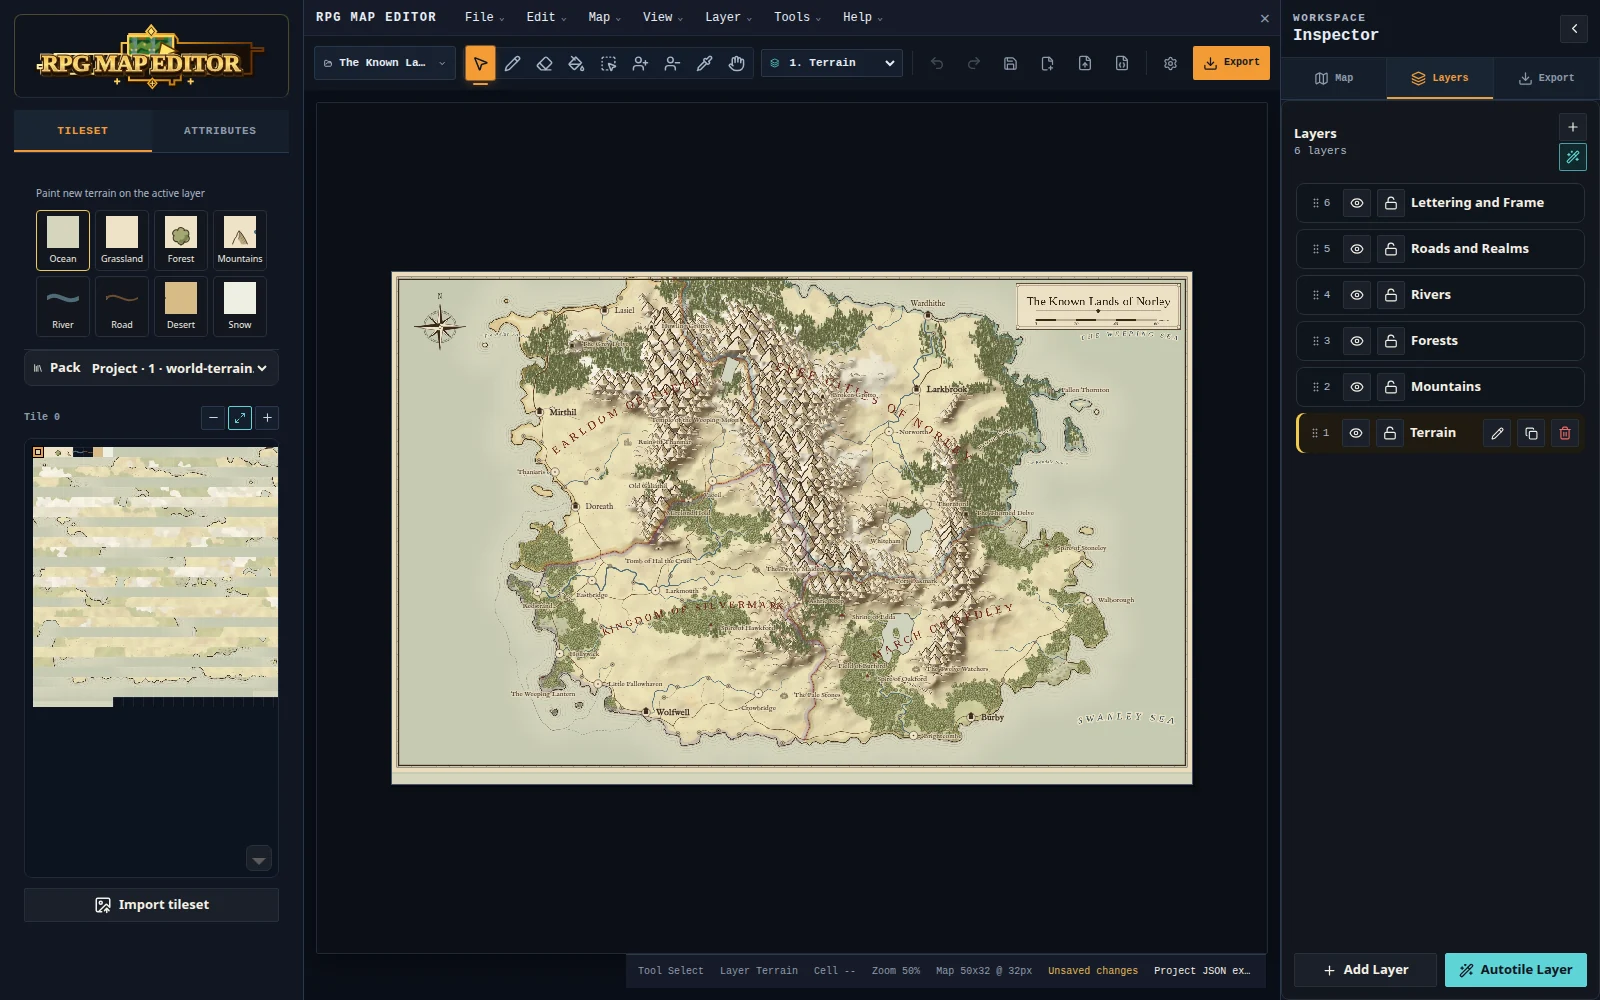
Choose Use in Editor when the preview is worth developing. The result becomes a regular RPG Map Editor project with six tile layers: terrain, mountains, forests, rivers, roads and realms, and lettering and frame. Settlements and landmarks become native place objects with names and notes.
If your current map contains work, the existing replacement confirmation asks you to keep a copy before switching. Generation itself does not change that map. Closing the preview returns you to it.
Move a town and rename it
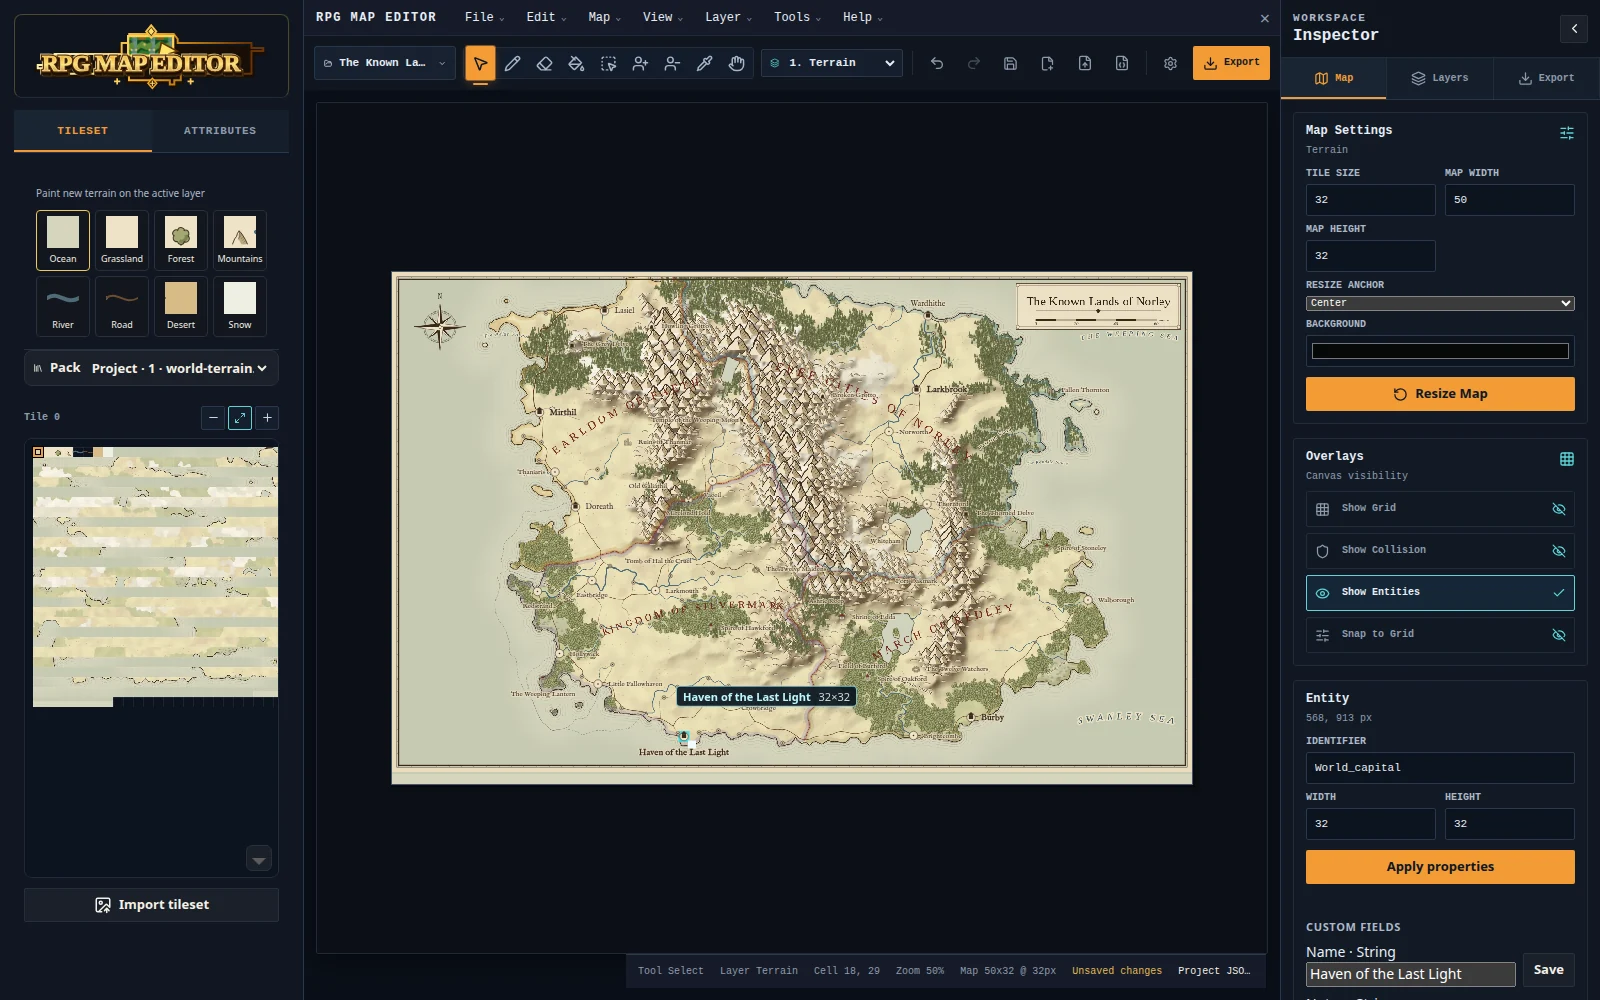
Choose Select, click a settlement or landmark, and drag it into position. With it selected, open Map properties in the inspector and edit Name. The map label follows the object. Notes and population fields give you somewhere to keep useful campaign details.
The ordinary undo and redo controls apply to these changes. You can remove a selected place with Delete, recover it with Undo, or use the entity tool to add another town, tower, ruin or other available place type.
Paint the terrain and work with layers
Choose the layer you want to change, then use the normal painting or erasing tools. The generated atlas includes quick swatches for ocean, grassland, forest, mountains, river, road, desert and snow. You can also pick existing artwork from the map and use the usual tile editing tools.
The imported geography is tile artwork, rather than an editable vector elevation mesh. Painting terrain changes the map’s tiles; it does not automatically recalculate drainage. Moving a town does not automatically reroute its accepted roads. You control the final composition through the Editor’s layers and tools.
This distinction helps you choose the right moment to commit: settle on the broad geography in the preview, then develop the accepted map deliberately.
Keep the editable project and export the finished map
Use a project bundle when you want a portable working file containing the map and its atlas images. The generated map’s Project JSON export also embeds its artwork so it can reopen with its layers and places. Keep one of those files as a backup of the version you intend to develop.
Choose PNG for a rendered handout, campaign document or tabletop background. PNG includes the accepted map and its cartographic place labels, including your edits. It is an image export; reopen the project file when you want to continue editing.
The project retains its procedural recipe. Reopen Map → Generate World… from a generated project to review the original seed, settings and style. That preview reproduces the procedural draft. Your manual edits remain in the saved tilemap, so keep the project when those changes matter.
For encounter-scale maps, follow the first battle-map tutorial. For tabletop image imports and grid choices, see the VTT export guide.
Choose a generator for the work you actually want to do
Several good tools already generate and edit fantasy maps. The reason to use this bonus feature is the workflow it opens inside RPG Map Editor, especially if you already use its tile layers and object tools.
| Tool | A useful fit | What to consider |
|---|---|---|
| RPG Map Editor World Generator | A procedural starting region followed by normal tilemap and object editing | Imported geography is tile art; use a project file to keep manual edits |
| Azgaar Fantasy Map Generator | Detailed world-map customization and data-oriented workflows | Its own editors and .map project format serve a different workflow from tile editing |
| Watabou Perilous Shores | Quickly exploring evocative regional maps | It also offers Blueprint editing and saving/loading; it is not an image-only generator |
| donjon Fantasy World Generator | Quick seeded geography with straightforward generation parameters | Choose it when the generation controls meet your preparation needs |
Azgaar’s official knowledge base documents heightmap brushes, editable project saves and several export formats. Perilous Shores’ official page lists its Blueprint editor and saving/loading updates. These tools deserve consideration on their own terms; generation plus editing is not unique to RPG Map Editor.
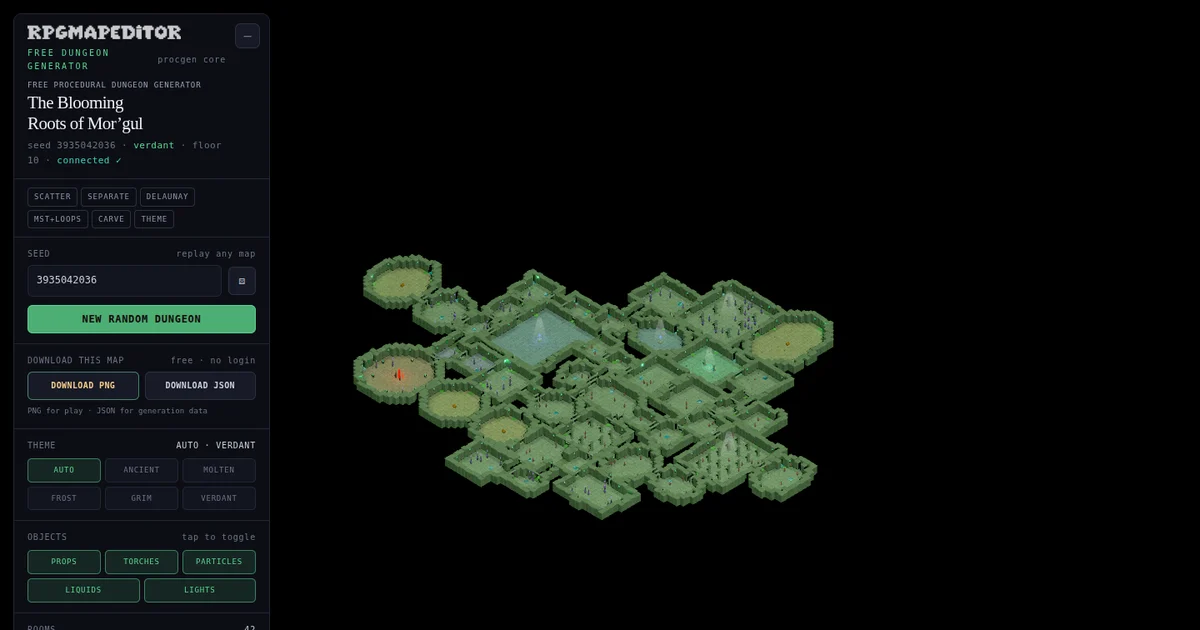
RPG Map Editor is a practical choice when you want the generated draft to become a project in the Editor you already use. If you need a connected dungeon floor instead of a regional chart, try the separate procedural dungeon generator and its illustrated guide.
Make the region useful for your next session
Give the generated geography a purpose before adding detail. Choose a starting settlement, identify a destination, and decide what makes the road between them interesting. A river crossing can become a negotiation. A pass can explain a border. A distant lighthouse can give the party a reason to take a boat.
Rename a few important places first, then add the landmarks your players can act on. A smaller number of meaningful locations is easier to introduce than every name on the chart at once. Keep the broader region as a reference and build individual encounters in the normal RPG map editor.
Frequently asked questions
Is world generation required to use RPG Map Editor?
No. The tilemap editor remains the default workflow. World Generator is an optional creation tool under Map → Generate World.
Can I move towns and rename their labels?
Yes. After using the preview in the Editor, choose Select to move a town or landmark. Select it and edit its Name field in Map properties to change the label. These edits support the normal undo and redo controls.
Does a seed remember my manual edits?
A seed and generation settings reproduce the procedural starting point. Save a project bundle or portable project JSON to preserve manual terrain edits, moved objects, and edited names.
Which export keeps the map editable?
A project bundle or the generated map’s portable project JSON preserves its layers, objects and atlas artwork. PNG is the rendered image for sharing or use as a tabletop background.
Generate a world, then make it yours in the Editor. You can return to manual tilemap creation at any time; the generator remains an optional part of the workflow.